Colour a pipe by medium and widen it by flow
Beginner · 8 min · Pipework
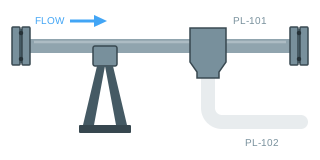
Medium = 0 MainWidth = 14 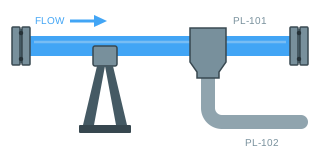
Medium = 1 BranchOpen = 100 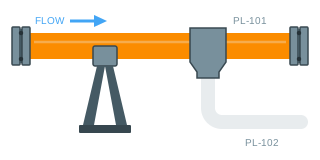
Medium = 2 MainWidth = 26
The problem
On most screens the piping is drawn once and never changes, so an operator reads valve symbols and flow meters and assembles the picture in their head. The information is there; it is just not on the line where it would be seen without looking.
Where people do try, it is usually with a stack of coloured copies — one pipe per medium, visibility-switched. Piping runs are long and branch a lot, so that multiplies quickly and every layout change has to be made to all of the copies.
What you need
A piping graphic whose runs are stroked paths, not filled rectangles. That is the one structural requirement here: all three bindings drive stroke properties, and a filled shape has no stroke to recolour and no stroke width to widen.
From the PLC you need a medium or line-state number, a value for the flow, and whatever tells you the branch is open.
| Parameter | Type | What it does |
|---|---|---|
| Medium | number | What is in the line: 0 empty, 1 water, 2 chemical. |
| MainWidth | number | Line thickness in drawing units — the flow, scaled. |
| BranchOpen | number | Branch visibility as a percentage: 100 open, low for shut. |
Build it
1. Colour the line by what is in it
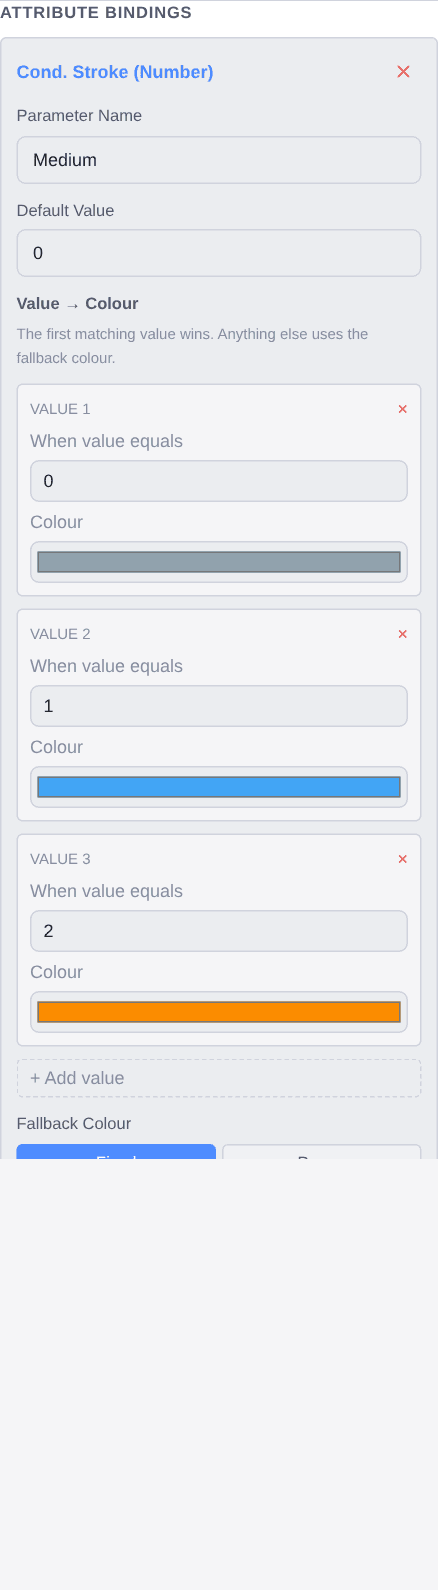
Select the main run and add a Cond. Stroke (Number) binding named
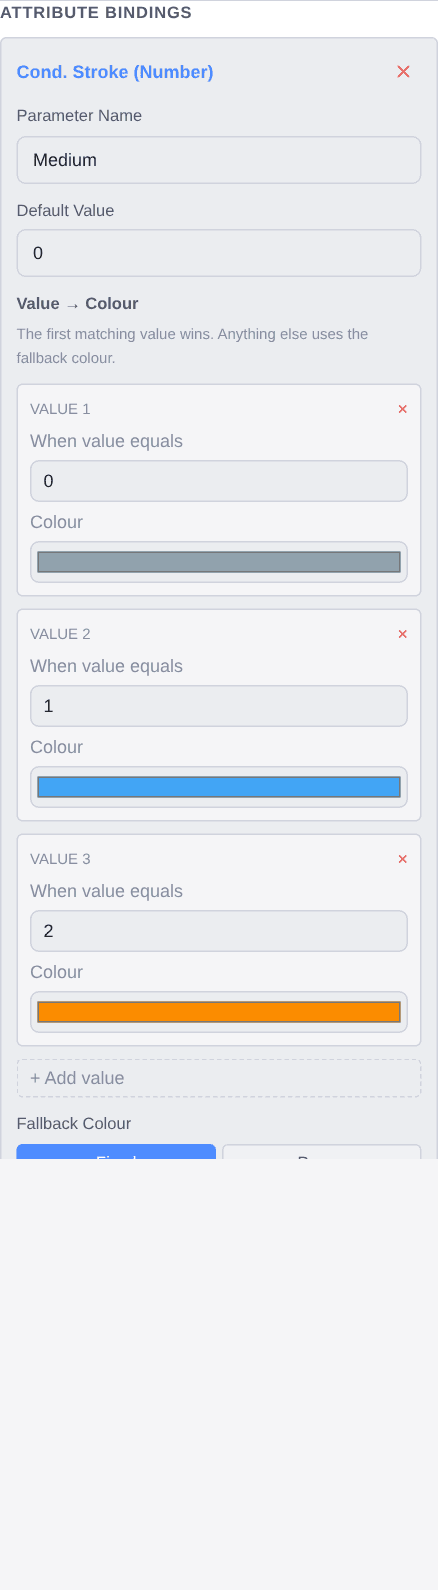
Medium, with a row per value: 0 grey for empty, 1 blue for water, 2 amber for the chemical.Set the fallback to something that appears nowhere else. A media list grows, and a new number that falls through should be visible rather than quietly grey.
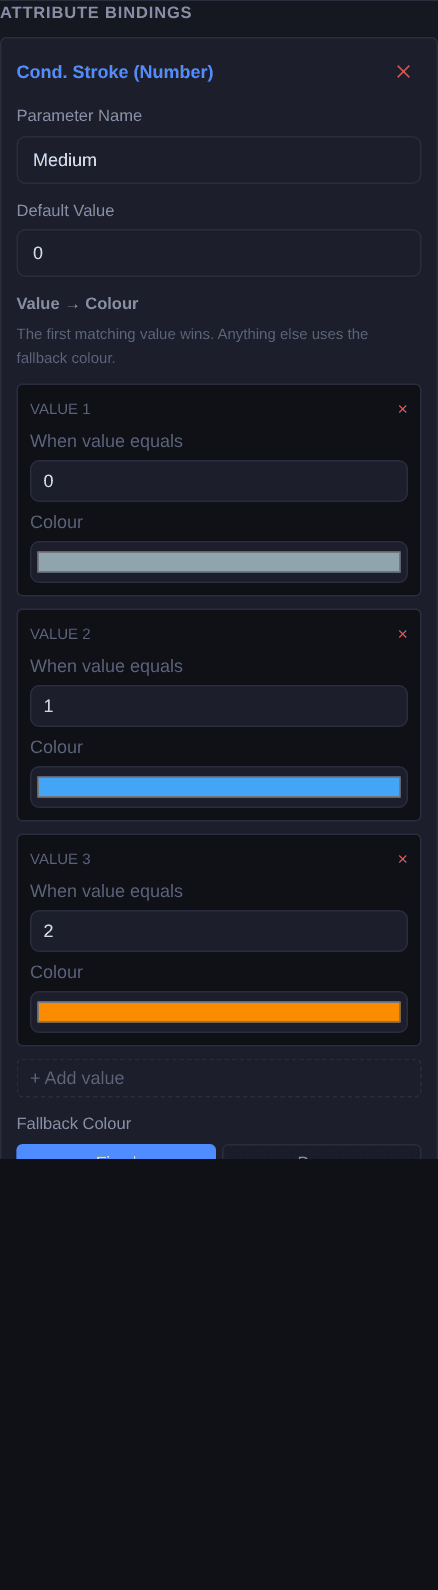
2. Widen it with the flow
With the same element selected, add a Stroke Width binding named
MainWidth. The parameter is a thickness in drawing units, so scale the flow to a sensible range wherever the tag is scaled — a line that disappears at low flow or swallows its own fittings at high flow is worse than one that does not move.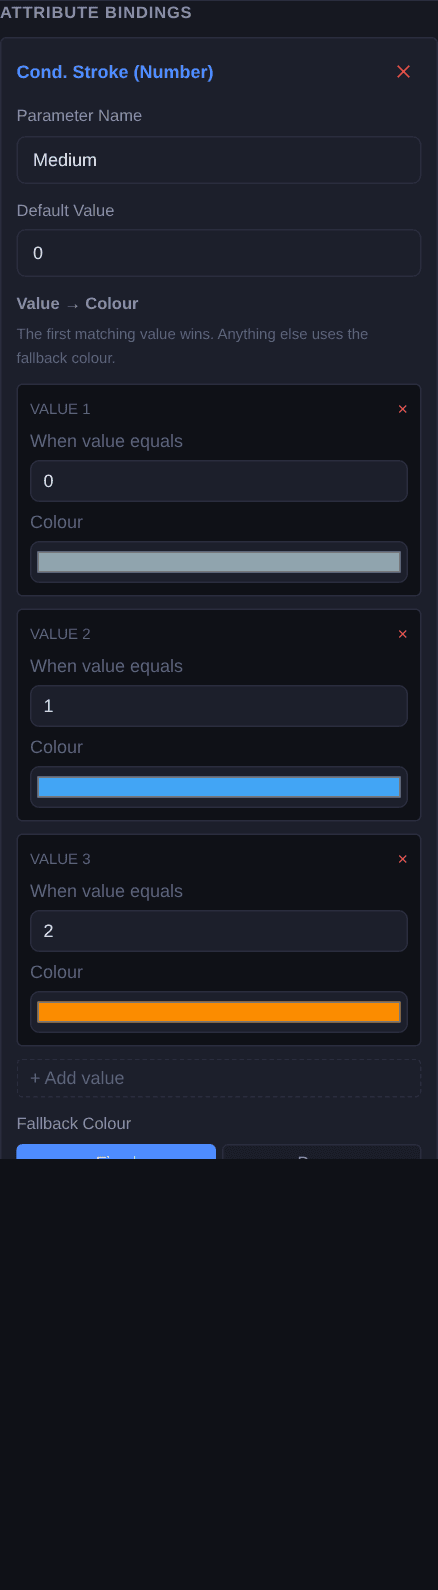
3. Fade the branch when it is shut
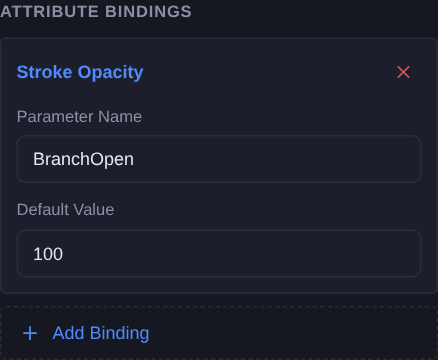
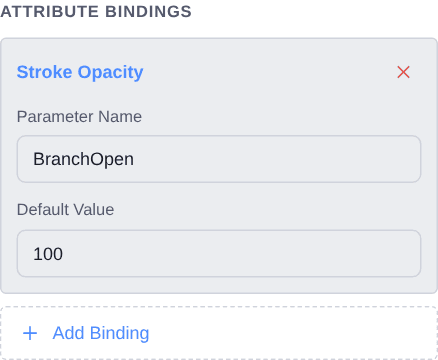
Select the branch and add a Stroke Opacity binding named
BranchOpen. The parameter is a percentage: 100 is fully drawn, and something around 20 reads as present but not in service.Fading rather than hiding is deliberate. A branch that disappears makes the drawing wrong — the pipe is still there — while a faded one says “this exists and is not currently carrying anything”, which is what an operator needs to know.
Check it
Open Simulate and step Medium through its values, then past them. Sweep MainWidth and watch where the line starts to collide with its own flanges — that is the top of your useful range, and it is worth knowing before you scale a tag onto it.
Then take BranchOpen to 0. The branch should vanish completely, which is why 20 rather than 0 is the interesting value for a shut line.
Simulate needs a free account. Everything up to this point does not.
Variations
- One bit instead of a number. If the line only ever carries one thing, Cond. Stroke (Boolean) is two colours and one parameter.
- Colours from the faceplate. Switch a row from Fixed to Param and the medium colours become parameters, so a site standard is set once rather than per drawing.
- Fade the whole run. The same stroke-opacity binding on the main line dims a section that is isolated for maintenance, without removing it from the drawing.
Questions
- Why must the pipes be stroked paths?
- Because all three bindings drive stroke properties. A pipe drawn as a filled rectangle has no stroke to recolour and no stroke width to widen, so none of them would have anything to act on.
- Should thickness be proportional to flow?
- Loosely. Nobody measures a pipe on screen to read a flow rate — the number does that. Thickness is there so a busy line and a trickling one look different at a glance, so keep the range narrow enough that the drawing still looks like piping.
- Why fade a shut branch instead of hiding it?
- Because the pipe is still there. Hiding it makes the drawing wrong; fading it says the branch exists and is not currently carrying anything.
- What units is the stroke width in?
- Drawing units, the same ones the graphic is drawn in. Scale the flow onto a range that suits the drawing wherever the tag is scaled.